
I've had absolutely no experience in spraying stencil art, so need to do some playing around. Well I did a bit of spray paint application to a drum kit I sanded down way back in 2010 - but still nothing with stencils.
Spray paint testing/playing
 |
| Sugar Artists' Acrylic |
As I said, it will be the first time using these types of spray paints, and I notice the difference with the spray caps already, they are not these rubbish ones you get with spray paints from the hardware shop.
Paper - handcut

Paper - lasercut

Acetate - handcut

Masking Tape - handcut

Vinyl - lasercut
I tested this on a scrap of painted wood, to test the adhesive. But forgot to take a photo sorry! It worked fine, like a cross between paper and acetate.
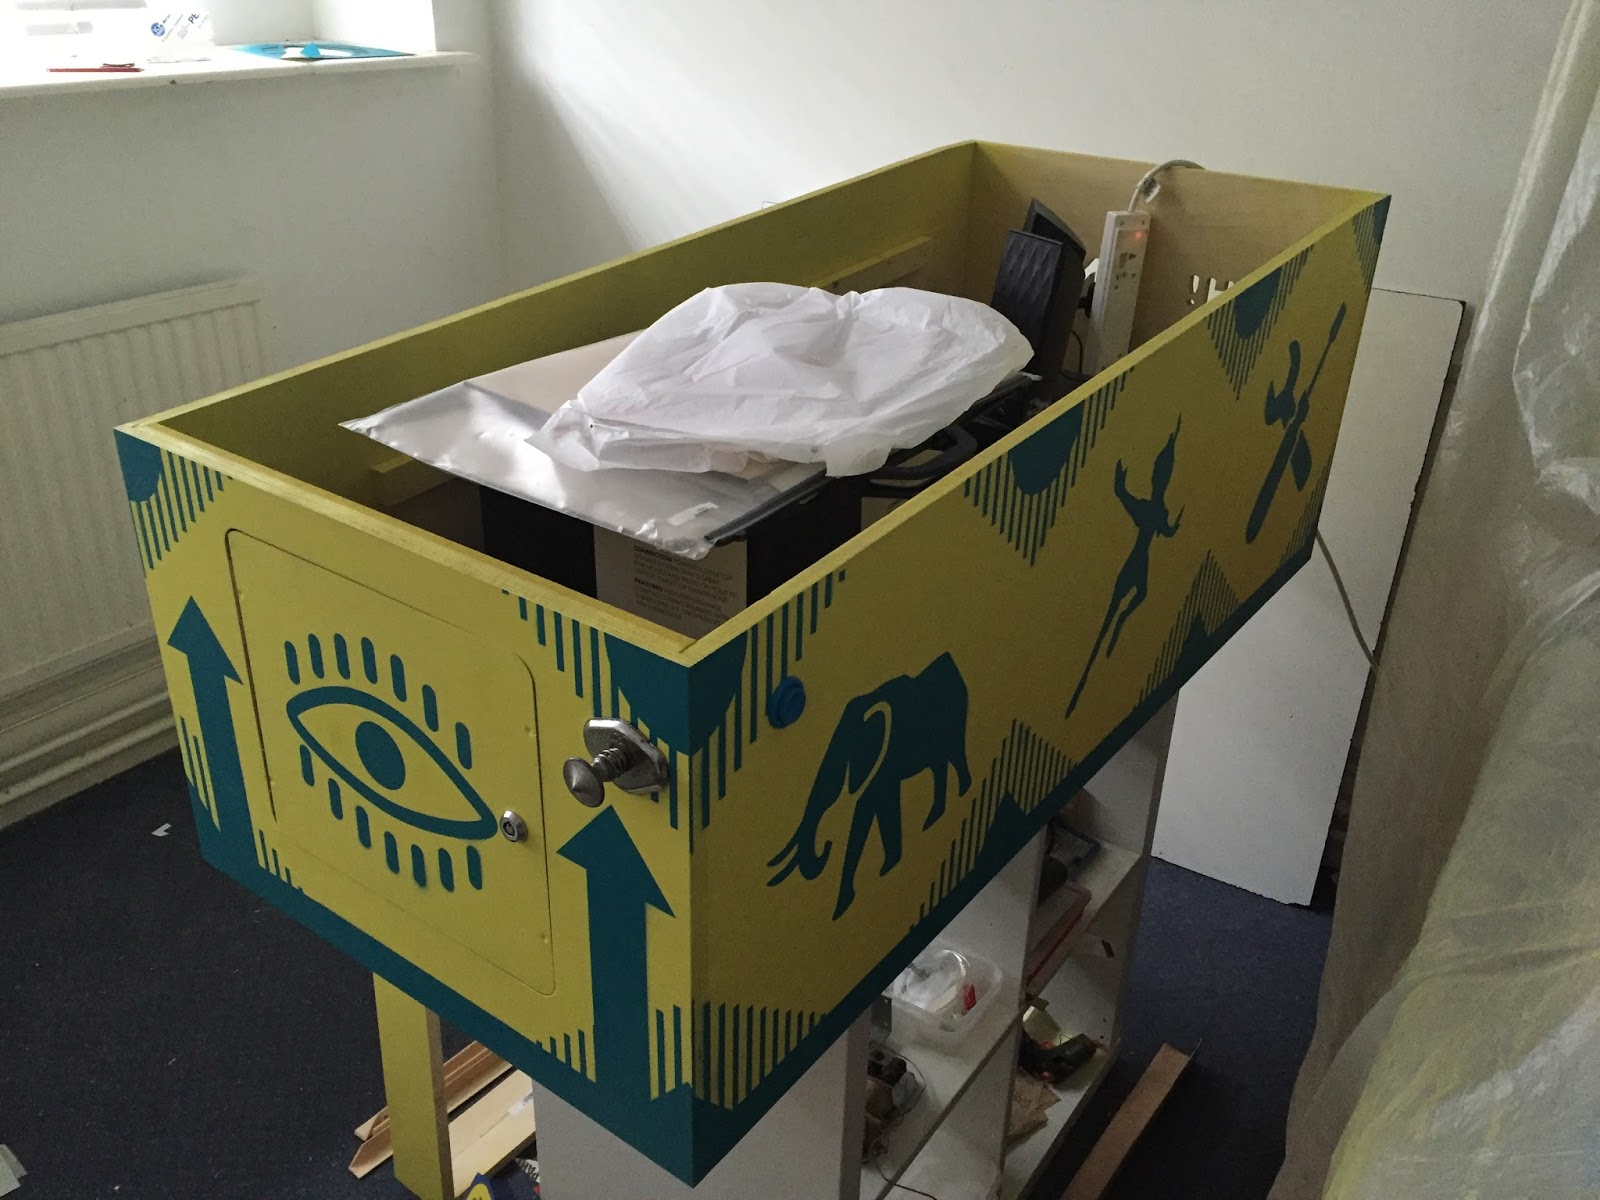
After previous iterations of the design, I moved on from the large logo on the side. Realising that the logo would be quite heavily used throughout the machine anyway.
This was a chance to really highlight the symbols, I want to spark some retro nostalgia of pinball to draw people in, when they get close they will realise that something is a little different than expected.
 |
| 1. Simple |
 |
| 2. Diamonds / lines |
 |
| 3. Bleed |
 |
| 4. Circles |
 |
| http://www.torrencecollection.com/gottlieb.html |
For reference I started looking at quite a few woodrail pinball machines this era is mainly flipperless bagatelle style in the 1950's which is a lot earlier than the styles I was mainly focussing on of 70s/80s pinball. There is something much more craft like about these wood rails, and I really like that over the hard chrome metal edges or plastic aesthetic of more modern machines.
I asked opinions of different people, which option from the four above they preferred, and although a real mixed bag of opinions I knew they diamonds/lines version was the right choice, keeping these references to classic pinball.
Making the Stencil
After my tests, I came to the conclusion that there was no need to over engineer the stencils. Sticking with paper was the best option all round, proving the most successful results.
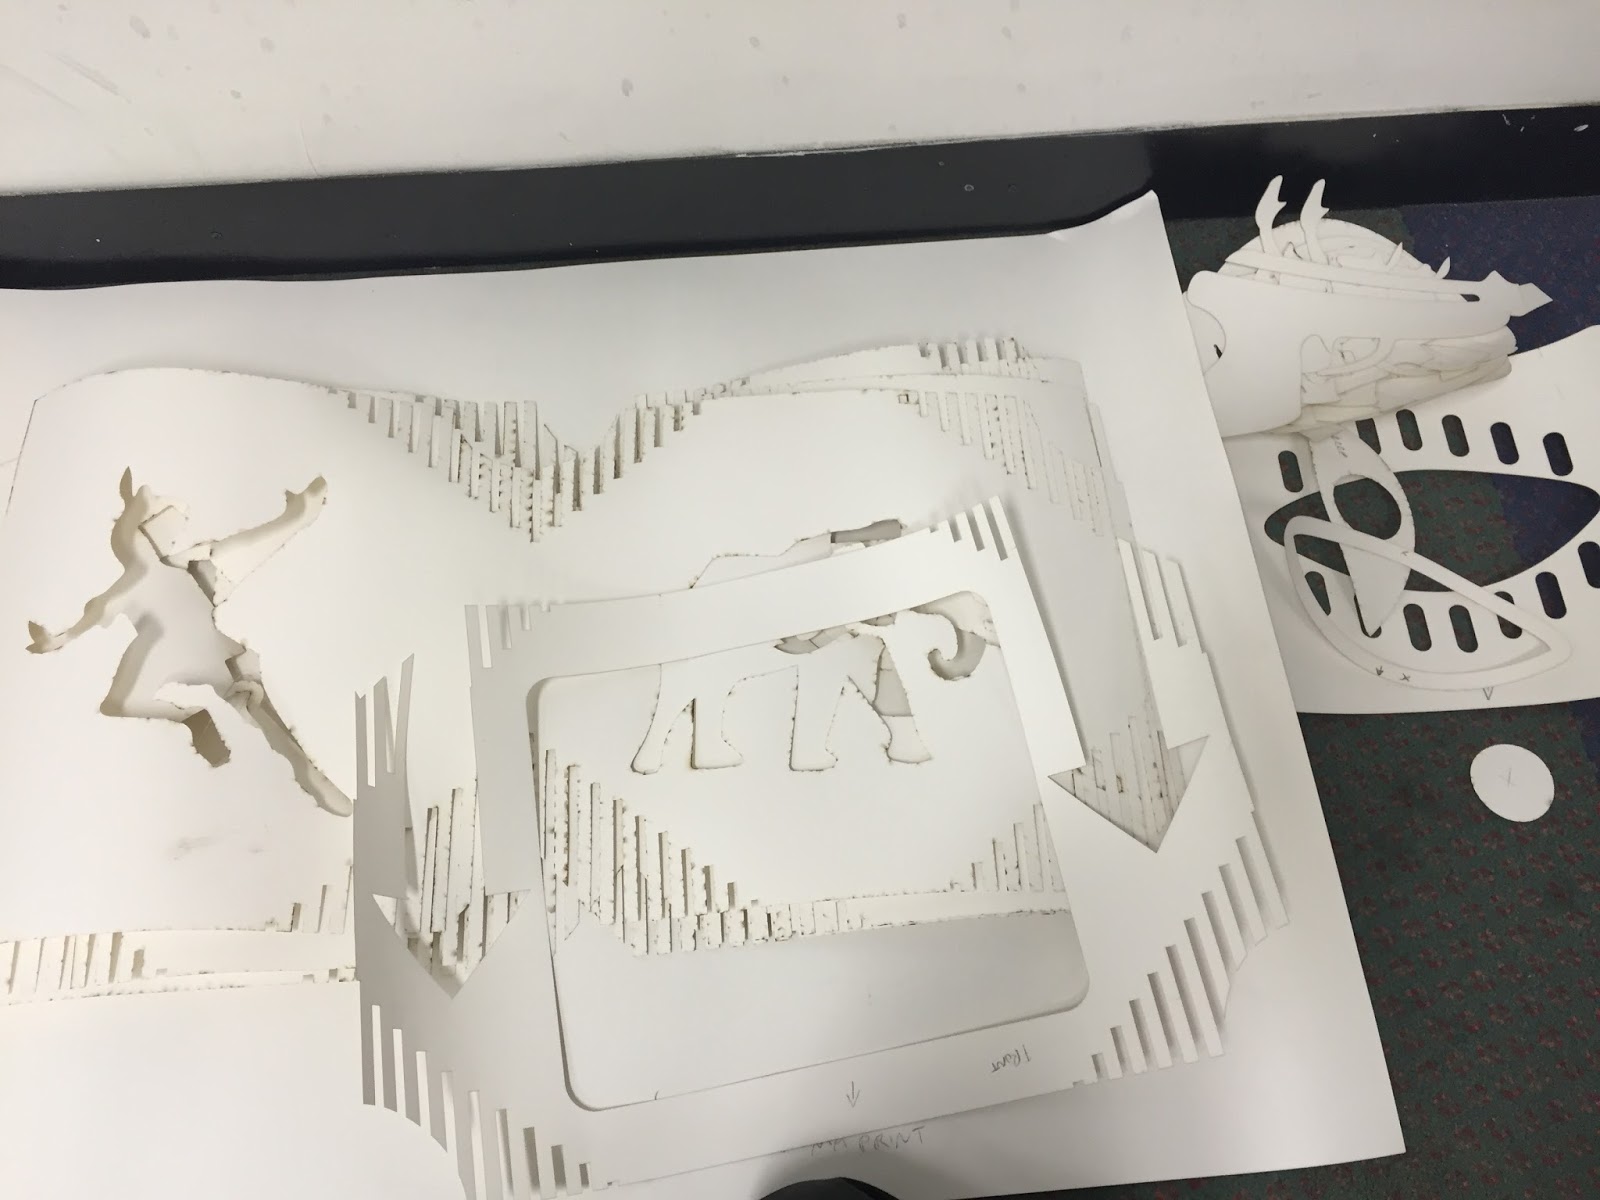 |
| Lasercut paper stencils - another bonus is they are easily transportable |
Applying the stencil
Learning from advice given during a tutorial with Oli Timmins, I used repositionable spray tack on the back of the stencil to keep it in place and as tight to the cabinet as possible to keep the underspray/blowout around the edges to a minimum. Although I quite like some!

Couldn't be happier with how things are coming together, just wish there was slightly more hours in the day. Lots of all nighters this week! Need sleep please.
No comments:
Post a Comment